Why placement matters more than the camera spec sheet
Most first-time homeowners buy a Ring camera, mount it by the door, and hope for the best. That single location will capture parcels and visitors, yet it often misses the real security weak spots where burglars test your home first. Think of this Ring camera placement guide as a map of likely intrusions, not a catalog of shiny video features or marketing buzzwords.
Visible cameras reduce burglary risk, but only when each device is mounted where it can see how people actually move around your property. Studies on home security show that a clear camera view at key approach points changes criminal behaviour more than an extra bump in video resolution or a slightly wider field of view. You are not just installing Ring hardware, you are shaping how someone decides whether your house looks like an easy target or a noisy, risky one, and that decision often happens in seconds.
Every Ring model, from Ring Video Doorbell Wired to Ring Floodlight Cam Pro, has different optimal performance zones for motion detection and video recording. The same camera mounted too high or too low will either spam you with motion events from passing cars or miss a person walking straight to a side door. Getting the mounting height, angle, and location right is the single most important step in this Ring camera placement guide, and the placement checklist later in this article will help you dial those choices in quickly with a simple, repeatable process.
The four corners plus entry strategy for full coverage
Think of your home as a rectangle with four corners and one main entry that need coverage. A practical Ring camera placement guide starts with that “four corners plus entry” model, then adapts it to your exact layout, driveway, and garden. The goal is to use each camera’s field of view so that every approach path is seen at least twice from different angles, reducing blind spots and improving identification.
Start with the front door, where a Ring Video Doorbell should sit around 1.2 meters (about 4 feet) from the ground. That height gives the best balance between facial detail, motion detection accuracy, and a natural view of parcels on the mat. Use the Ring app to view live footage while you adjust the mounting bracket, then lock it in with the supplied mounting screws once you are sure the device covers the whole porch and any steps or railings.
Next, treat each rear corner as a separate security zone that needs its own camera view. A Ring Stick Up Cam or Ring Spotlight Cam mounted 2.7 to 3 meters high (roughly 9 to 10 feet) on the wall will usually give optimal performance, with enough vertical field of view to see both the fence line and anyone close to windows. When you test live view, walk the fence and side paths to see where motion events trigger and where detection feels too high or too low, then fine-tune the angle so people are visible for several seconds before they reach doors or ground-floor windows.
The back patio door and side paths, your real weak points
Most break-ins do not start at the front door; they start at the back patio or a side entrance hidden from the street. A serious Ring camera placement guide treats the rear sliding door as the primary security risk, not an afterthought. If you only have one extra camera beyond the doorbell, it usually belongs here, covering both the glass and the main approach route.
Place a Ring Spotlight Cam or Ring Floodlight Cam above the back patio door, mounted around 2.7 to 3 meters high (about 9 to 10 feet), angled slightly down toward the approach path. This height and angle let the camera capture faces and hands at the handle while still watching the wider yard, which is vital for early motion detection before someone reaches the glass. Use the Ring app to view live video while a friend walks from the fence to the door, then tweak the angle until motion events start several meters away, not just at the threshold, and confirm that night-time lighting still reveals clear detail.
Side yards and narrow alleys are where angle beats resolution every time. A camera with modest video recording quality but a smart mounting location that looks along the path, not straight across it, will outperform a premium device pointed the wrong way. When installing Ring cameras on side walls, aim them down the length of the path so the field of view catches a person for several seconds, giving the motion detection algorithm time to trigger reliably. A simple overhead sketch or annotated photo of your side path, with arrows showing likely movement and shaded blind spots, can make it much easier to choose that angle before you ever pick up a drill or commit to cable runs.
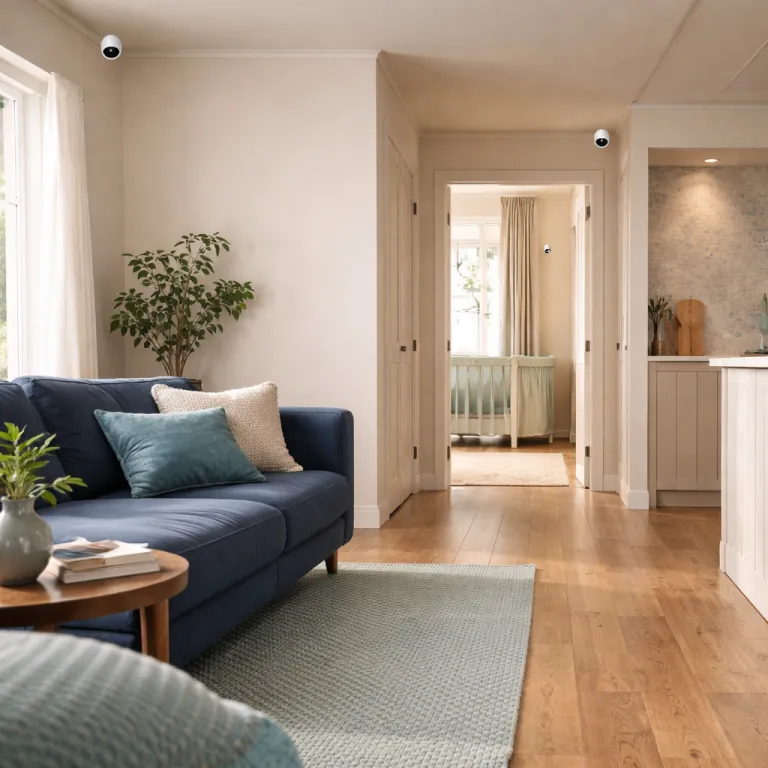
The forgotten interior: garage to house door and signal strength
Once you have exterior corners covered, the next overlooked spot is the door between your garage and the main house. Many burglars enter through a weak garage side door, then walk calmly through the interior door, assuming no camera will see them there. A compact Ring Indoor Cam mounted near the ceiling opposite that door can quietly close this gap and provide a final verification point.
Mount the indoor camera about 2.2 meters (around 7 feet) from the ground, angled slightly down so the lens has a clear view of the entire doorway and any adjacent storage. This location keeps the device out of reach while still giving a wide field of view of the garage interior, which helps with both motion detection and later video review. Use the Ring app to view live footage as you open and close the door, checking that motion events trigger as soon as the door moves, not several seconds later, and that parked vehicles do not block the view.
Interior placement also exposes a different issue in any Ring camera placement guide, which is Wi-Fi signal strength. Before you drill holes or insert anchors in drywall, check the signal indicator in the Ring app from that exact spot, because poor signal will ruin even the best mounting plan. If the signal is weak, either shift the camera a meter or two, add a Ring Chime Pro as a repeater, or move your router before you commit with a drill bit and mounting screws, and remember that thick masonry, metal doors, and insulation can all reduce wireless performance.
Practical mounting, drilling, and privacy choices that avoid regrets
Good security is not only about where you place a camera, it is also about how you mount it so it stays secure and does not annoy you or your neighbours. Before installing Ring hardware outside, hold the camera in your hand at the planned height, use the Ring app to view live video, and check exactly what the lens sees. If the view includes a neighbour’s window or private garden, adjust the angle or enable privacy zones in the app so your device respects local laws and basic courtesy, and remember that privacy and surveillance rules differ between regions, states, and countries.
When you are ready to mount, mark the bracket holes, then start with small pilot holes rather than going straight in with a large drill bit. This step reduces the risk of cracking brick or siding and lets you correct a slightly crooked template before you commit to larger drill operations. In masonry, always insert anchors before driving the mounting screws, because that combination keeps the camera secure against both weather and casual tampering, and helps maintain a stable view over time.
For wood, you can often drive the supplied mounting screws directly without anchors, but still pre-drill holes to avoid splitting trim. Use a simple placement checklist as you work: doorbells around 1.2 to 1.4 meters (4 to 4.5 feet), floodlights and spotlights roughly 2.4 to 3 meters (8 to 10 feet), and indoor units high enough to see the whole room without being easily reached. If you ever feel tempted to mount a camera very high for a grand overview, remember that extreme heights usually hurt motion detection and face detail, and that security depends less on a dramatic skyline and more on a clear view of a person’s hands at your door at 2 a.m.; a quick hand-drawn diagram with numbered mounting points can keep you focused on those practical details.
Frequently asked questions about Ring camera placement
Where should I place my first Ring camera in a new home ?
Start with a Ring Video Doorbell at the main entrance, mounted around 1.2 meters (about 4 feet) from the ground for optimal motion detection and facial detail. Then add a second camera at the back patio or most hidden entrance, since that is statistically a more common entry point than the front door. Use the Ring app to test live view from each device and adjust angles until motion events trigger several meters before someone reaches the door, and confirm that night vision or integrated lights still give a clear image.
How high should I mount a Ring Floodlight Cam or Spotlight Cam ?
For most exterior walls, a height of about 2.7 to 3 meters (roughly 9 to 10 feet) balances coverage and detail for these cameras. At that level, the field of view captures both the ground near doors and the wider yard, which improves motion detection and video recording quality. Mounting much higher often reduces the ability to identify faces and hands, even if the overall view looks impressive, and can also create harsh lighting angles that cast deep shadows.
Do I need to drill holes, or can I use adhesive mounts ?
For long-term security, drilling pilot holes and using proper mounting screws with anchors is far more reliable than adhesive. Adhesive mounts can fail in heat, cold, or humidity, which risks losing both the device and crucial video evidence. If you are renting, consider non-invasive options indoors and negotiate with your landlord for exterior drilling where security is clearly improved, and check your lease and local regulations before making permanent changes.
How do I avoid pointing my Ring camera at a neighbour’s property ?
Before installing Ring cameras permanently, use the Ring app to view live footage while you hold the camera at the planned location and angle. Adjust the tilt so the field of view focuses on your doors, paths, and fence lines, not on neighbouring windows or gardens. You can also enable privacy zones and motion zones in the app to block parts of the image and limit motion events to your own property, and review any regional guidance or legal requirements on recording shared spaces such as pavements or communal driveways.
When should I add another camera instead of moving an existing one ?
If moving a camera would leave any entrance or key path without coverage, it is usually better to add a second device. A solid Ring camera placement guide aims for overlapping views of each approach, so that one camera’s blind spot is covered by another. Relocate an existing camera only when it is clearly redundant, such as two devices watching the same narrow area while a side gate or garage door remains unseen, and use a quick sketch or checklist to confirm that every door, gate, and main path is still monitored.
Key statistics on camera placement and burglary risk
- Visible security cameras are associated with roughly one third fewer burglaries compared with similar homes without cameras, according to independent security research (for example, SafeHome’s 2023 home security statistics report, “Home Security Statistics: 2023 Data on Burglary, Cameras, and Deterrence,” which analysed more than 10,000 incidents across multiple U.S. cities and was last updated in 2023; the report notes that properties with obvious surveillance and alarm signage experienced significantly lower break-in rates).
- More than four out of five burglars report looking for alarms or cameras before choosing a target, and a majority move on when they see clear surveillance (as summarised in Security.org’s 2022 study “Do Security Cameras Deter Crime?” based on surveys of over 500 respondents with burglary experience, published in 2022, which found that visible cameras and doorbell devices were among the most frequently cited deterrents).
- Doorbell cameras mounted around 1.2 meters (about 4 feet) from the ground show higher motion detection accuracy for human movement than units placed significantly higher, according to Ring support guidance on recommended doorbell mounting heights in help articles such as “How to Physically Install Your Ring Video Doorbell” and related installation pages, accessed in 2024, which consistently recommend chest-level placement for best performance.
- Floodlight-style cameras generally reach optimal performance when mounted around 2.7 meters (roughly 9 feet) high, where the light and lens can cover both the ground and mid-height activity, as described in Ring’s installation instructions for Floodlight Cam and Floodlight Cam Pro, including support documents like “Installing Your Ring Floodlight Cam,” reviewed in 2024, which specify mounting the fixture high enough for wide coverage but low enough for accurate motion sensing.
Sources
- SafeHome, “Home Security Statistics: 2023 Data on Burglary, Cameras, and Deterrence” (U.S. burglary and deterrence data, sample size 10,000+ incidents, last updated 2023; includes comparative burglary rates for homes with and without visible security systems).
- Security.org, “Do Security Cameras Deter Crime?” (2022 study on whether security cameras deter crime, survey of 500+ participants with burglary-related experience, published 2022; reports self-stated offender behaviour around alarms and cameras).
- Ring support documentation on security camera placement and mounting heights for Ring Video Doorbell models, Ring Spotlight Cam, Ring Floodlight Cam, and Ring Indoor Cam (installation guides and help articles such as “How to Physically Install Your Ring Video Doorbell,” “Installing Your Ring Floodlight Cam,” and related support pages, accessed 2024, which outline recommended mounting heights, angles, and motion detection zones).